Search...
Menu
Adventurer_AD5M_AD5M Pro_Series Universal Camera
Download
Adventurer_AD5M_AD5M Pro_Series Universal Camera
Product Introduction
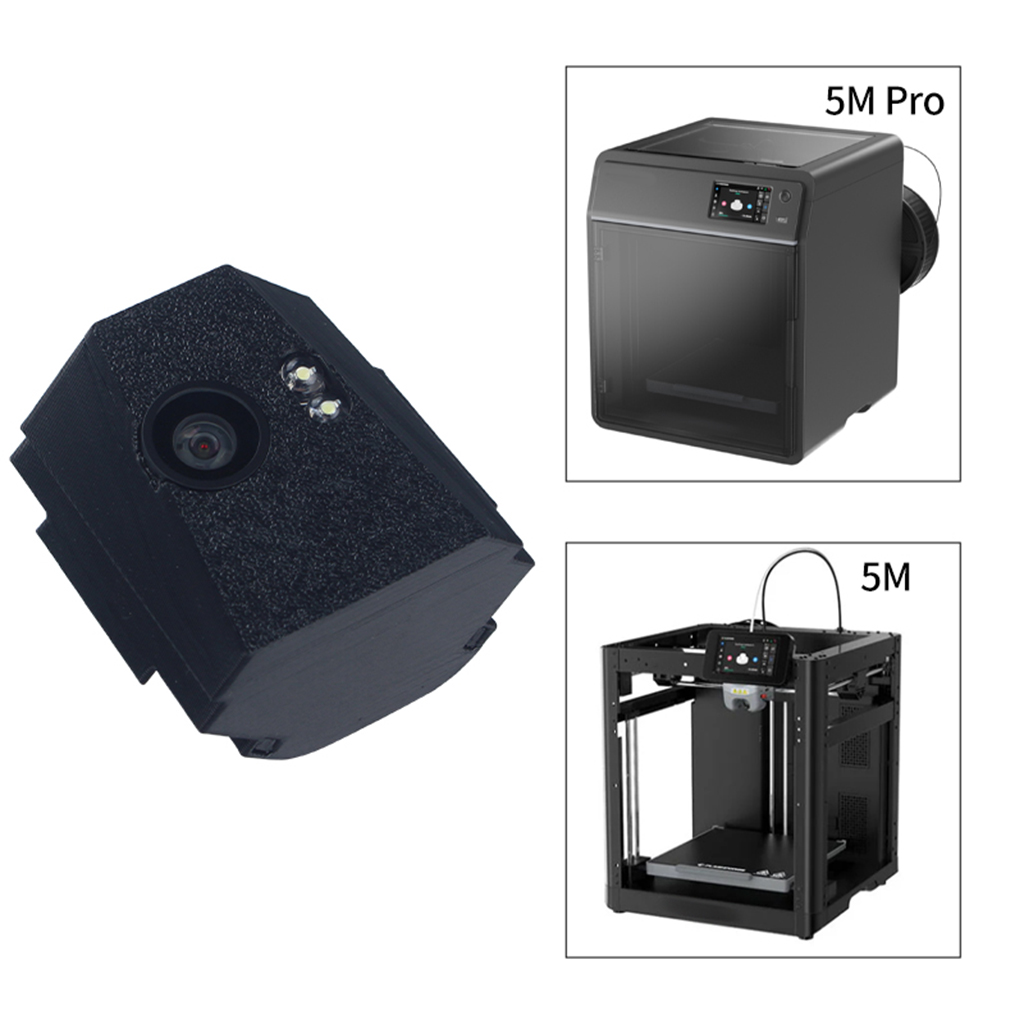
Applicable machine:
AD5M、AD5M Pro, etc .(AD5X devices are not currently supported).
Assembly steps
You can watch the assembly video.
You can also scan the QR code to view.

Usage steps
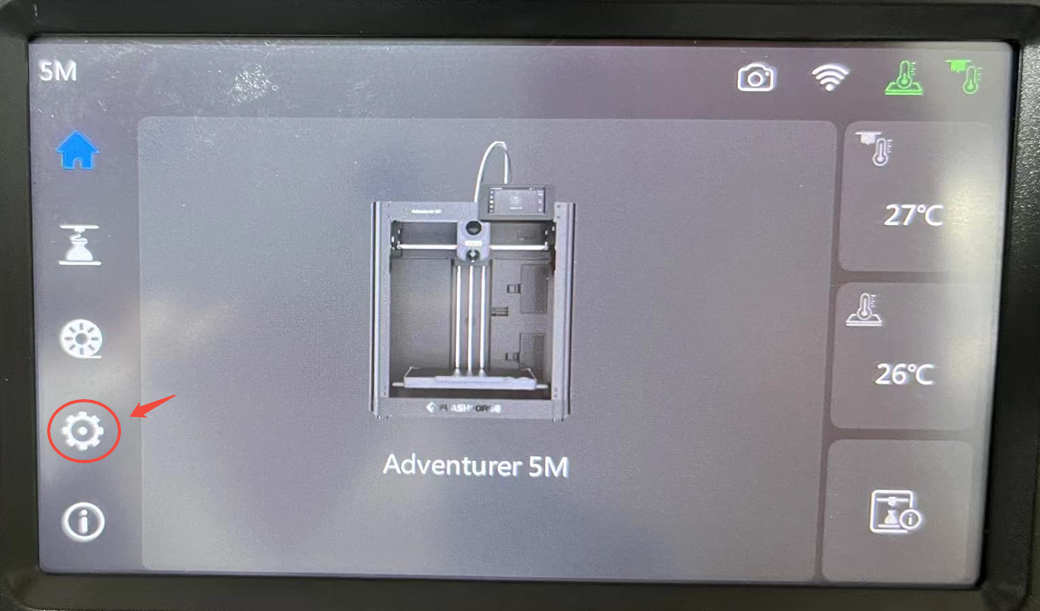
Step 1
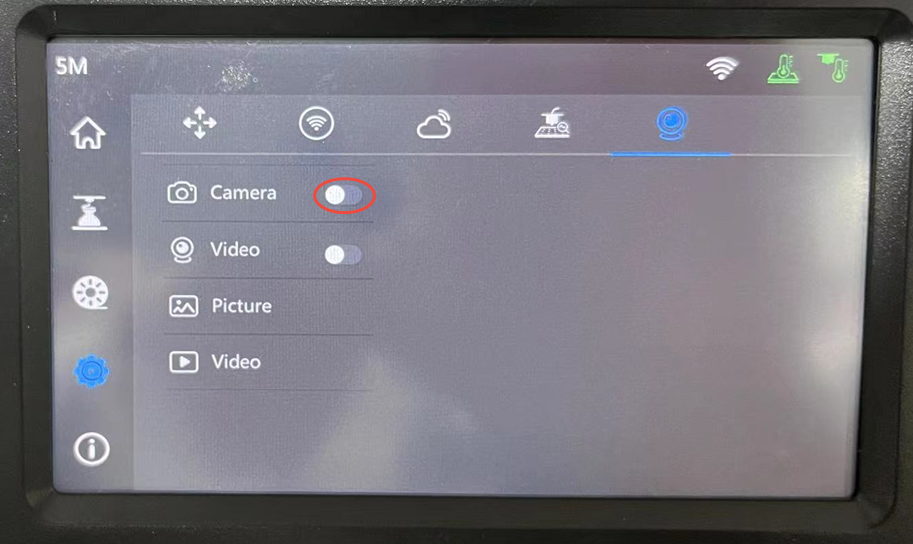
Install the camera according to the video instructions, then click on device settings.
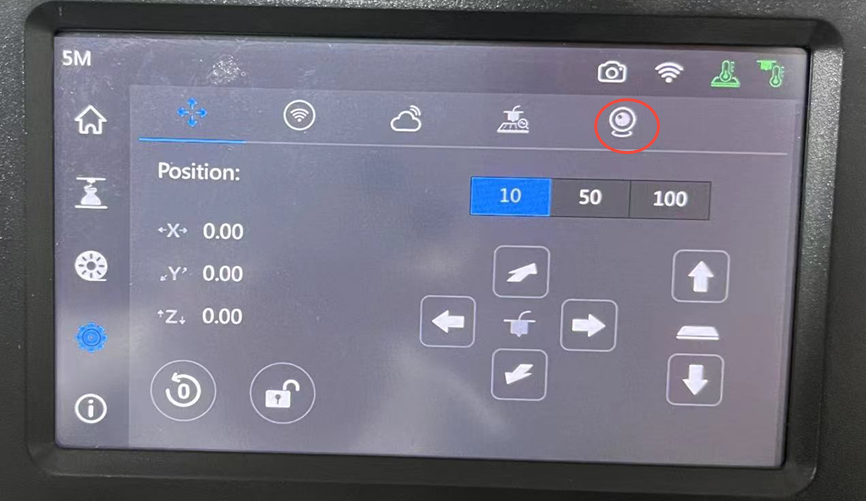
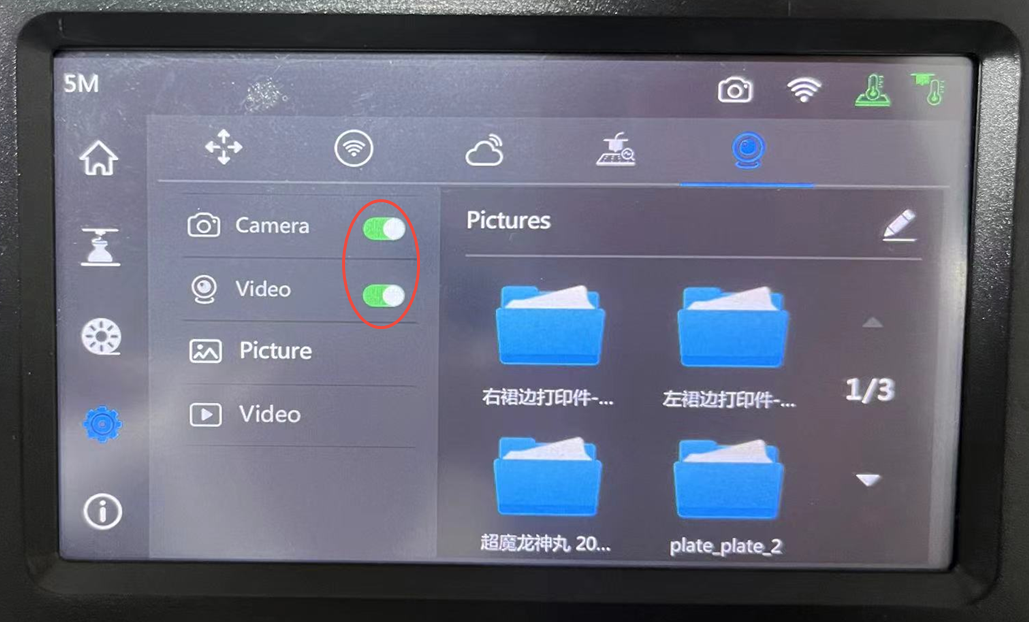
Step 2
Click the camera
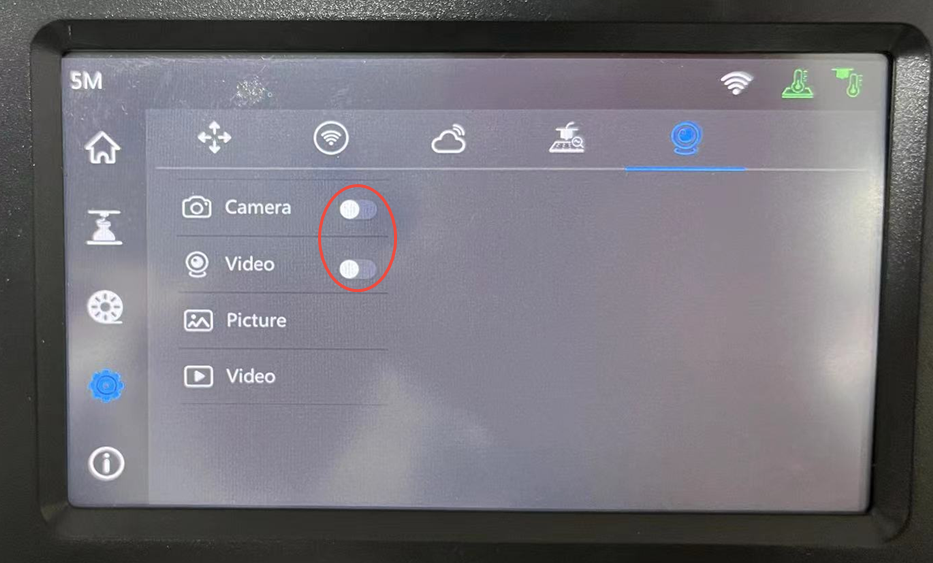
Step 3
Click the switch to enable the camera.
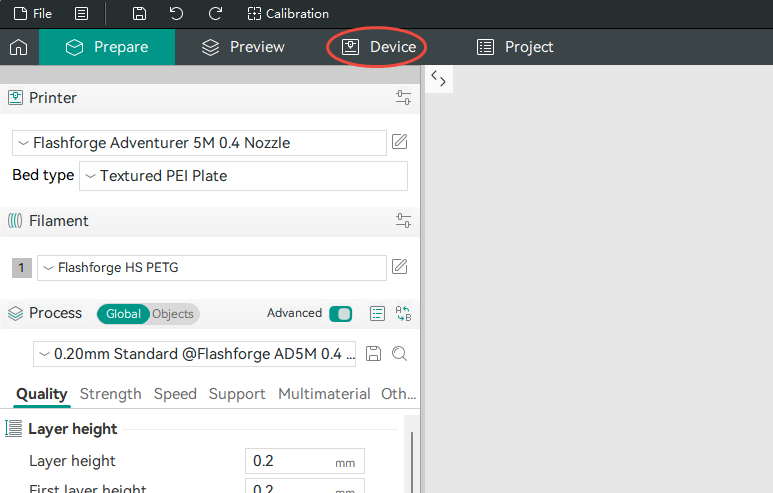
Step 4
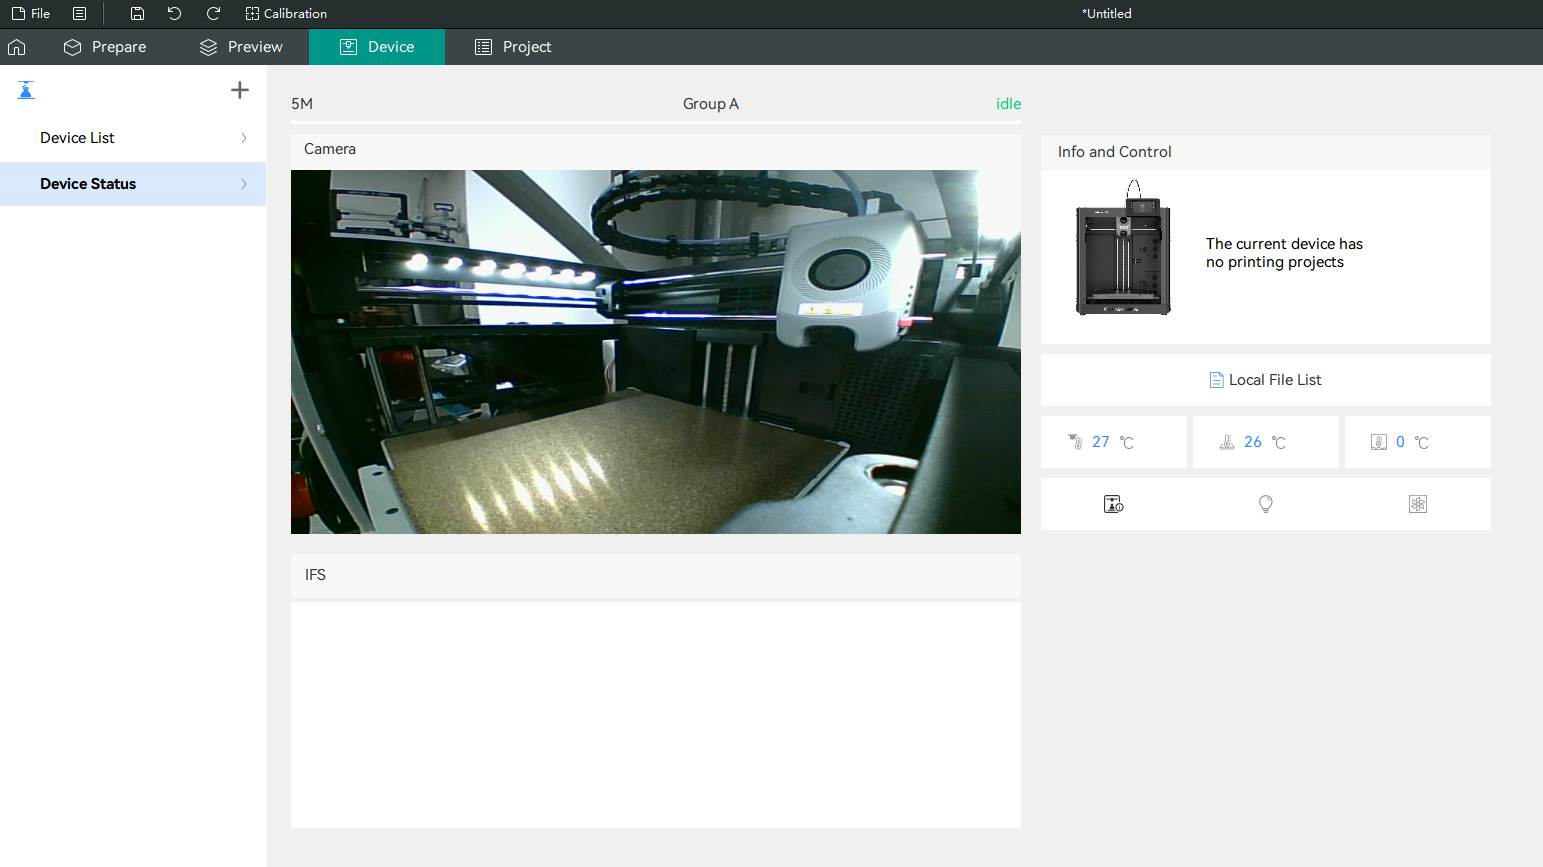
Open the official Flashforge slicing software

Step 5
Select equipment
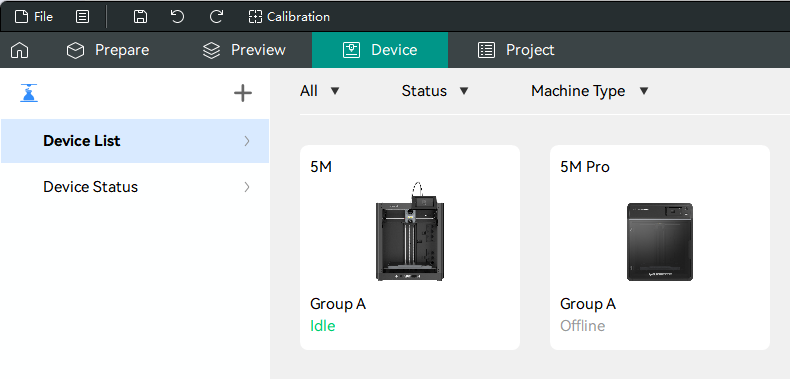
Step 6
Select your device
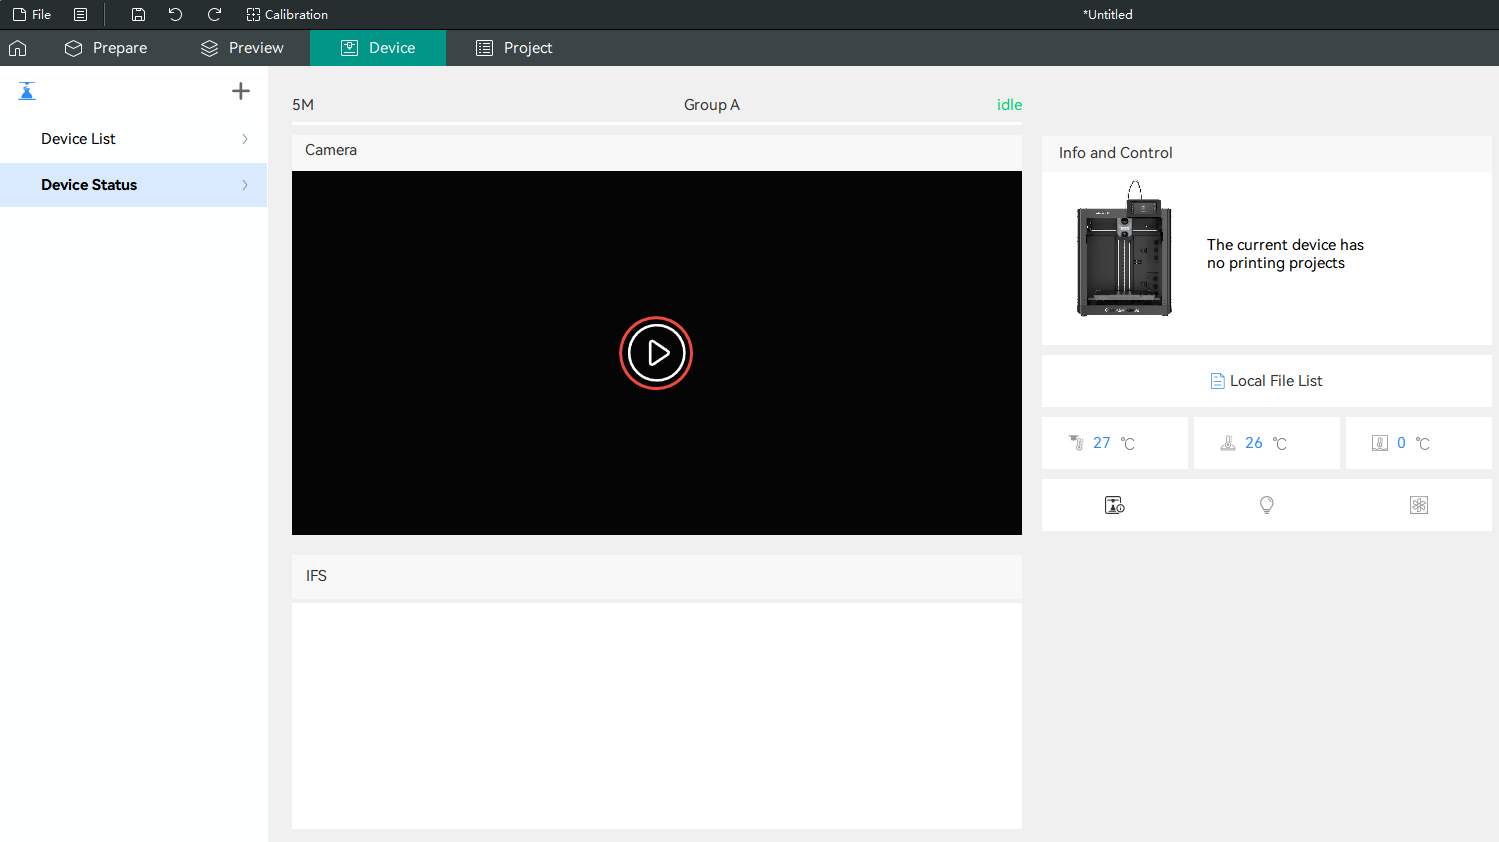
Step 7
Click to play
Attention
Refer to the assembly tutorial to avoid installation errors.
FAQ
- Q: How to install to my 3D printer?
A: You can watch the assembly video. - Q:Does the installation require additional printed fixtures?
A:Not needed,If your printout is accidentally damaged, please click STL. to download.Or scan the QR code to download.

- Q:After the camera is installed, there is no camera button on the device in the second step.
A:Please check the ribbon cable behind your device's display for any creases or damage. Carefully smooth out any creases and check again to see if the device has a camera function.If you are still unable to enable it, we suggest you contact our customer service to purchase a replacement display screen connection cable.
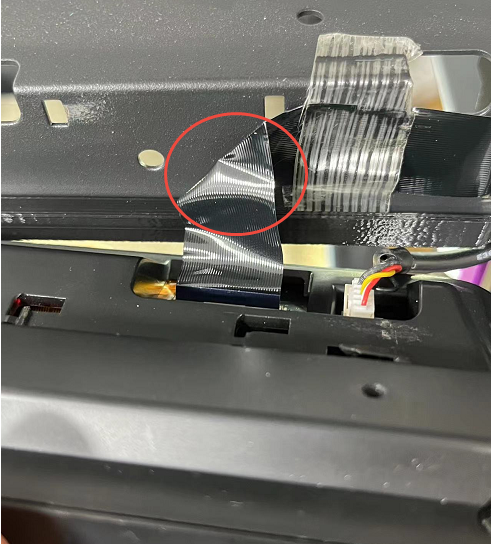
- Q:After installing the camera, the second step involves having a camera on the device, but it cannot be activated.
A:Please check the ribbon cable behind your device's display for any creases or damage. Carefully smooth out any creases.And try to enable the camera again.If you are still unable to enable it, we suggest you contact our customer service to purchase a replacement display screen connection cable. - Q:Why does the live stream automatically turn off after the camera is installed?
A:① Network latency and lag; ② Damaged display cable causing abnormal signal transmission.
Attachments
- STL.
Shop
Tech Support
facebook group:https://www.facebook.com/groups/197476557529090/
Tech Support Email: hunter@fysetc.com
Previous
Adventurer_AD5M_AD5M Pro_AD5X_Light Board Bracket
Next
Displays
Last modified: 2026-02-09
Outline