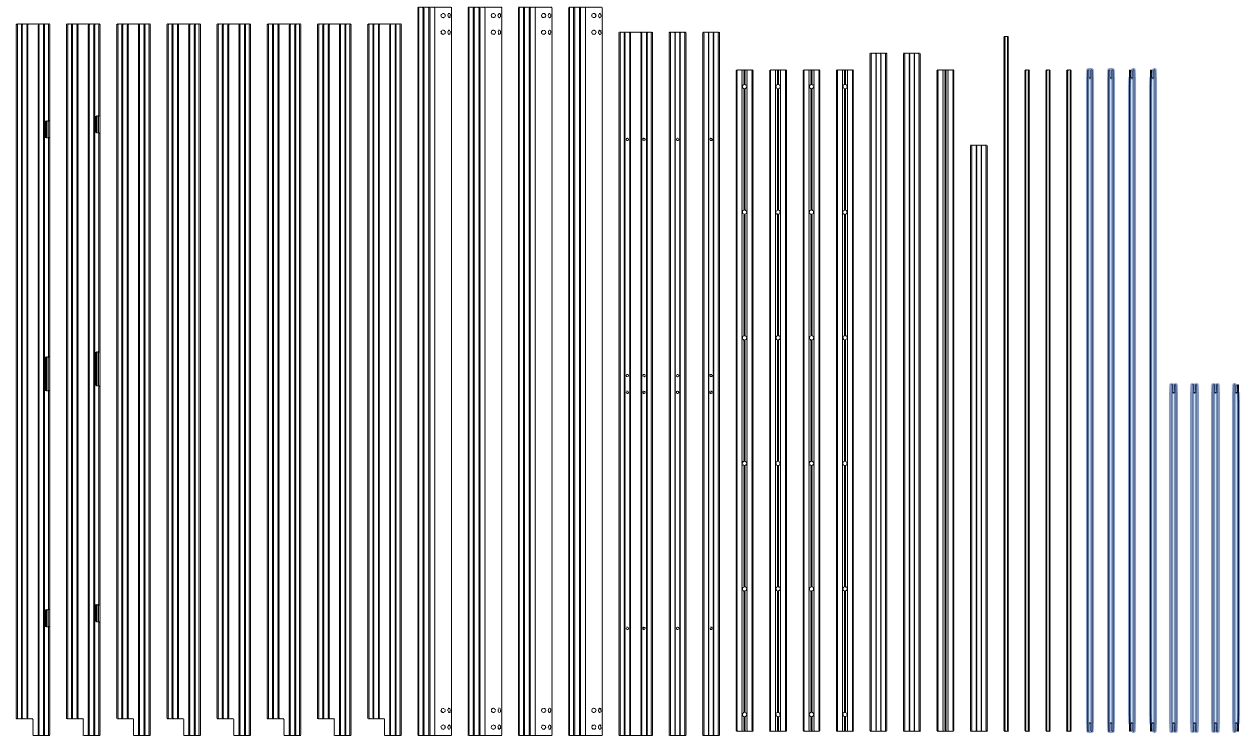
2.9 Rack and sealing acrylic
2.9 Rack and sealing acrylic
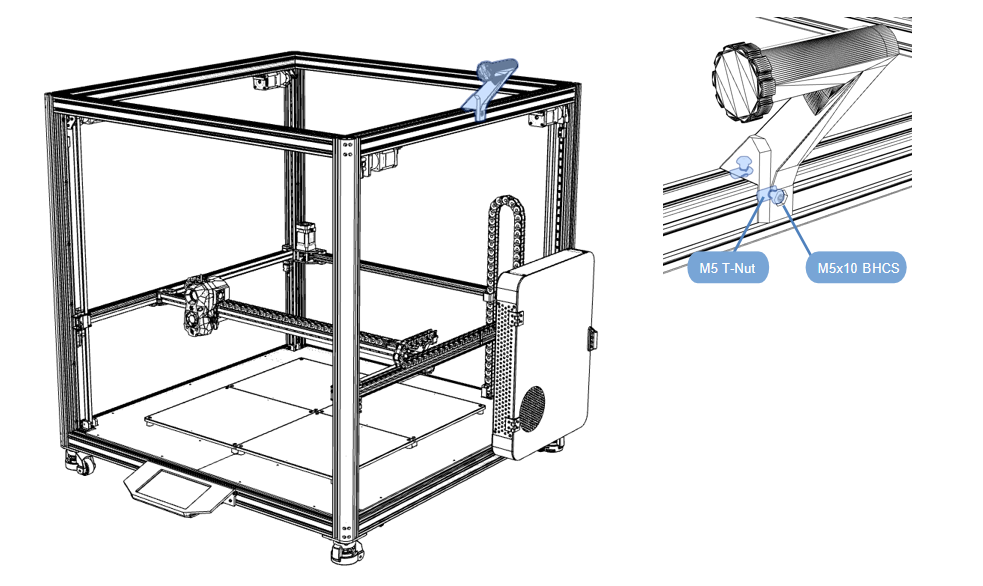
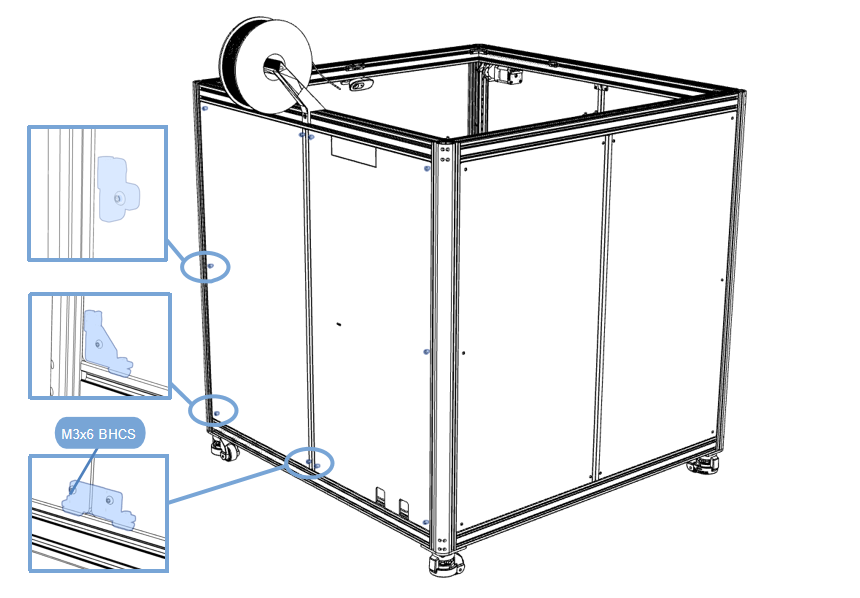
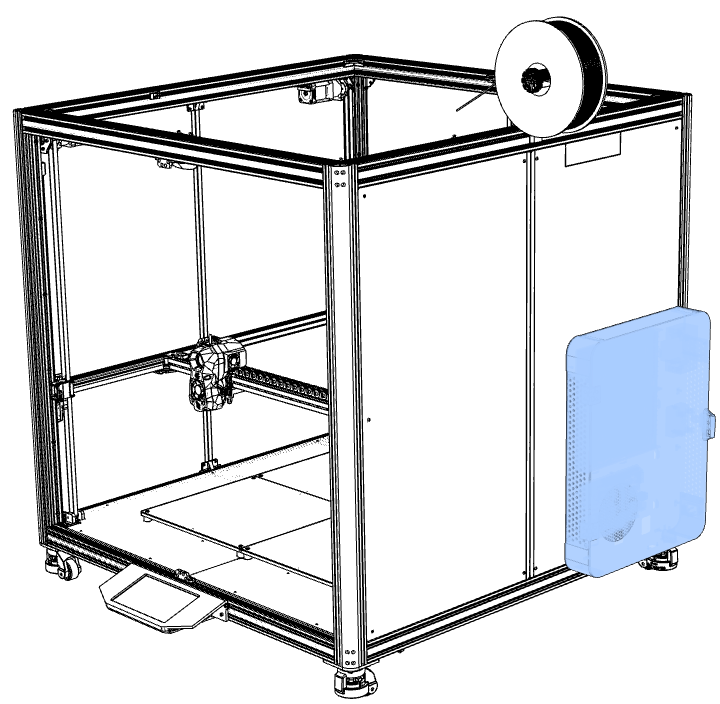
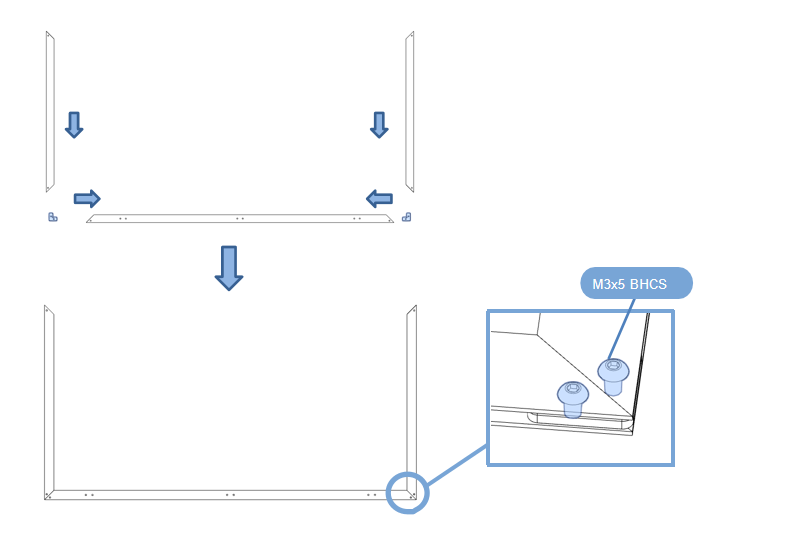
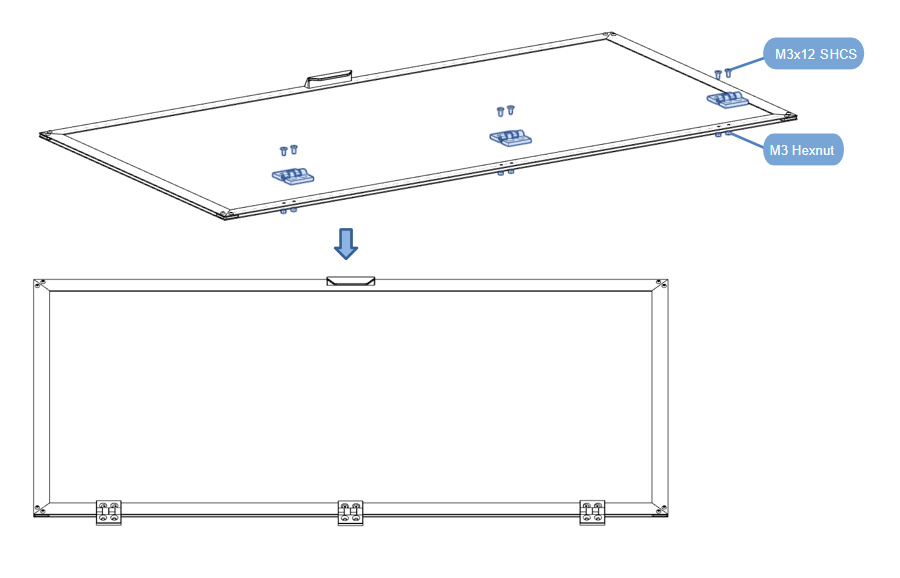
2.9.1 Material rack
- Assemble according to the diagram;
- The bracket is placed in the middle of the profile;
2.9.2 Sealing acrylic
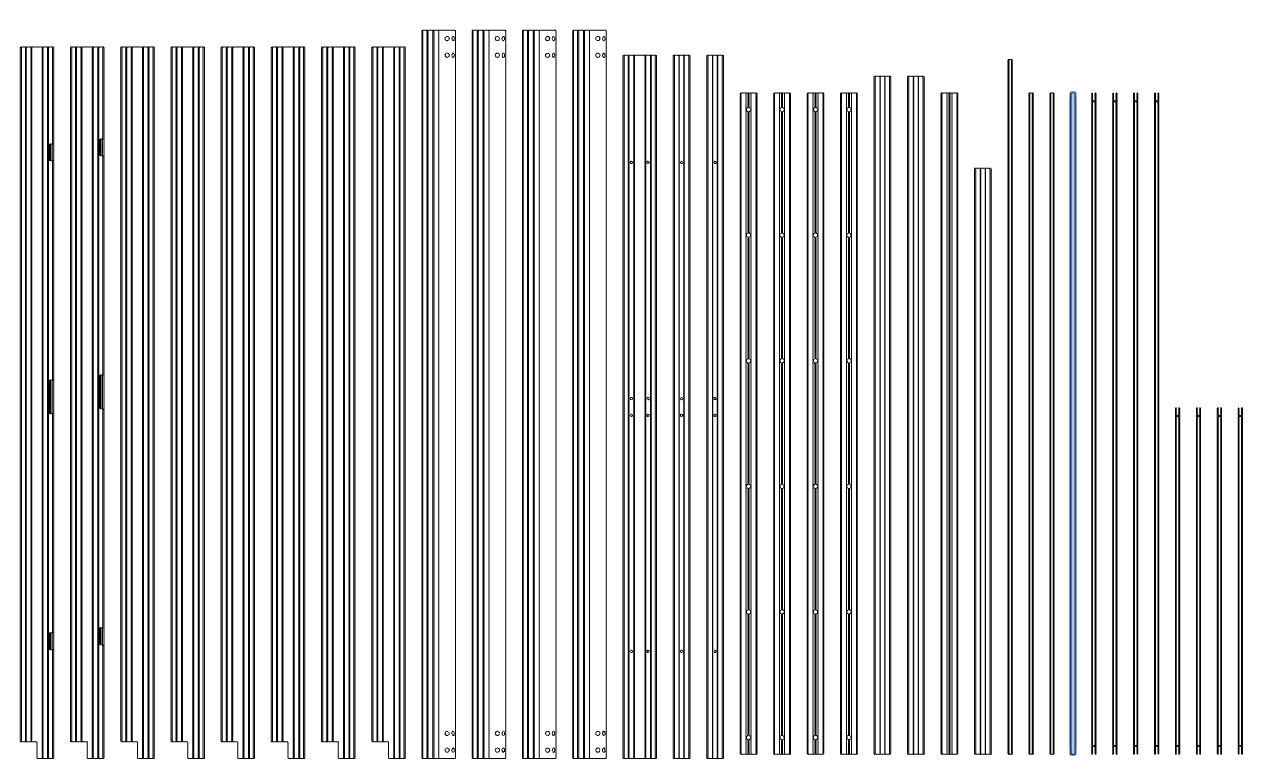
Material preparation
-
Print the following prints, black PETG, 30% infill, 3 walls;
-
Print link:https://github.com/FYSETC/Venture_XL/tree/main/STLs
-
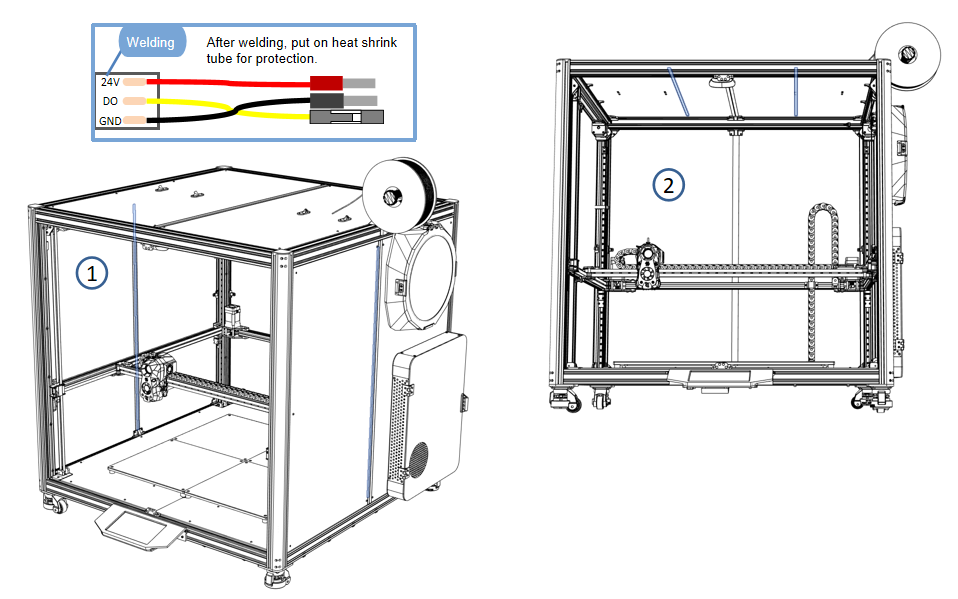
Use a soldering iron to heat-weld the printed parts;
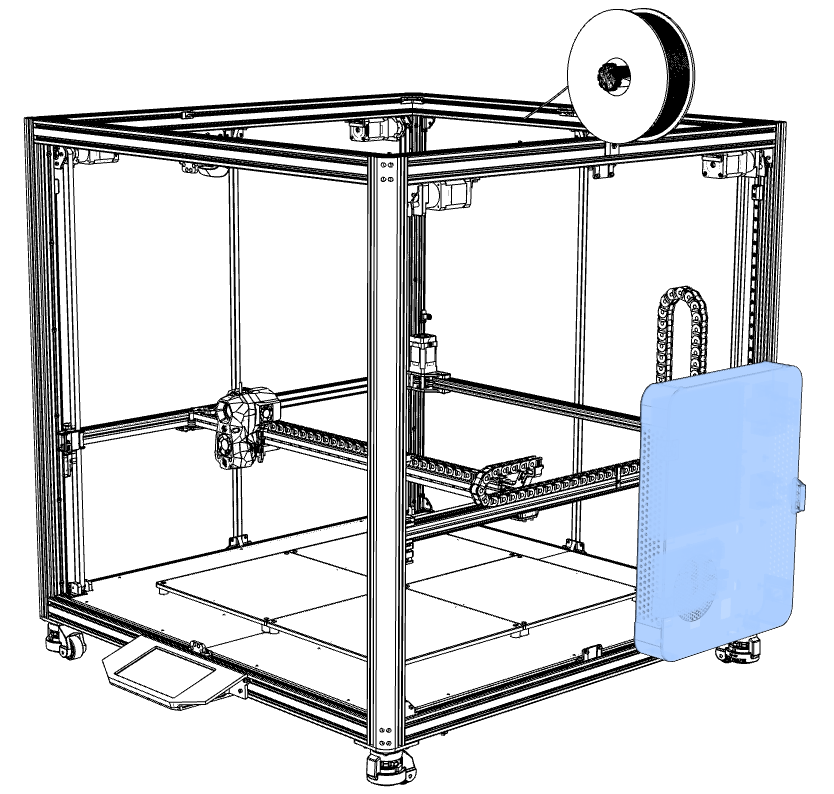
Camera assembly
-Assemble according to the diagram;
-
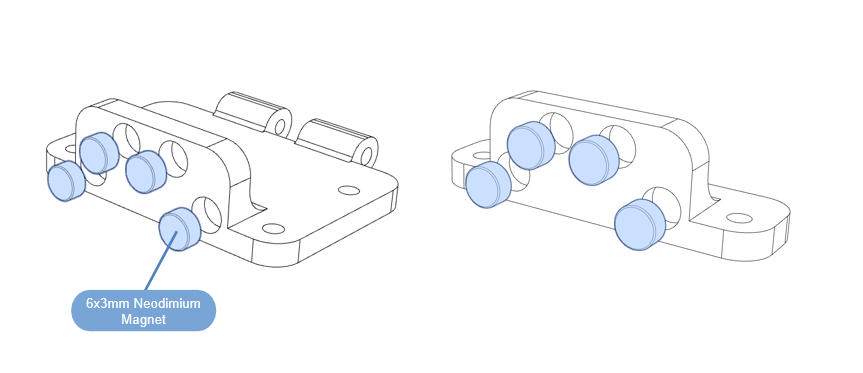
Press the magnet into the print as shown;
-
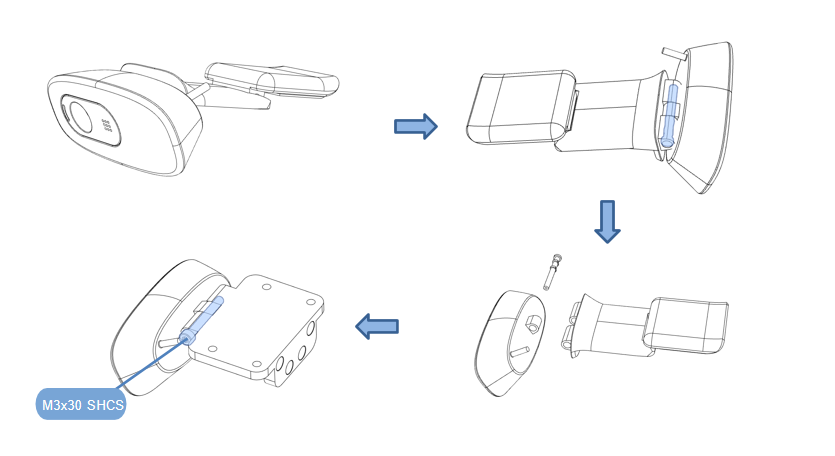
Open the camera box and take out the camera;
-
Remove the bracket behind the camera from the middle connection;
-
Install the camera body to the bracket and tighten it with screws;
-
Install the door resistance assembly on the front assembly of the frame and tighten the screws;
-
Route the camera power cable along the profile groove and install the profile groove cover,need to connect USB extension cable to the display interface(Because the camera cable is not long enough, you need to use a USB extension cable).
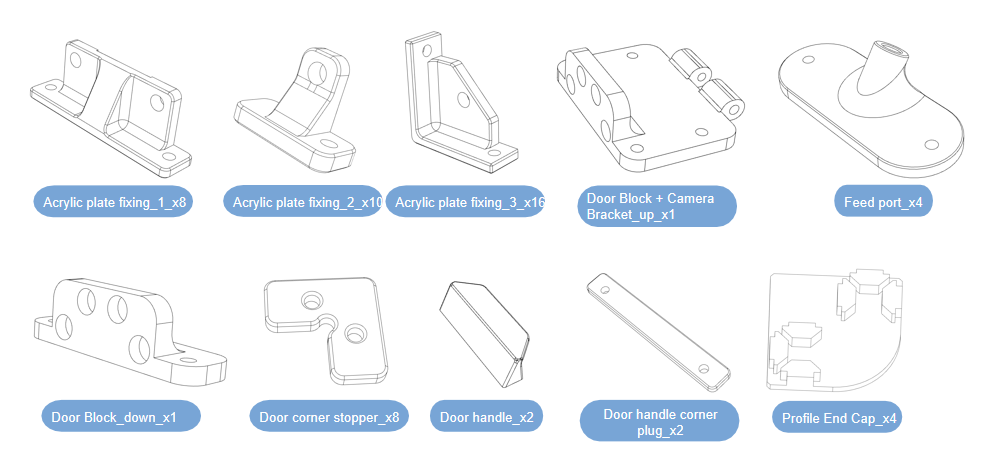
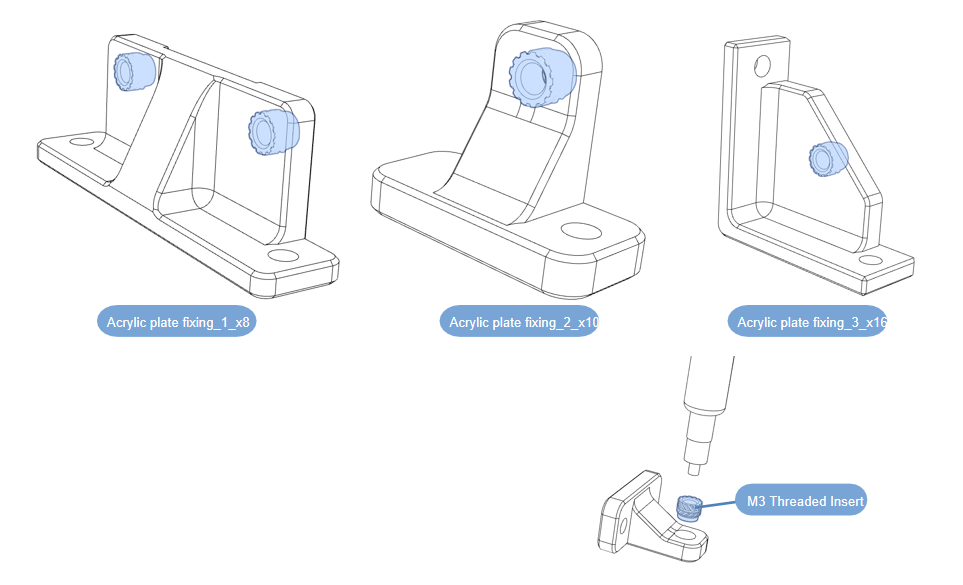
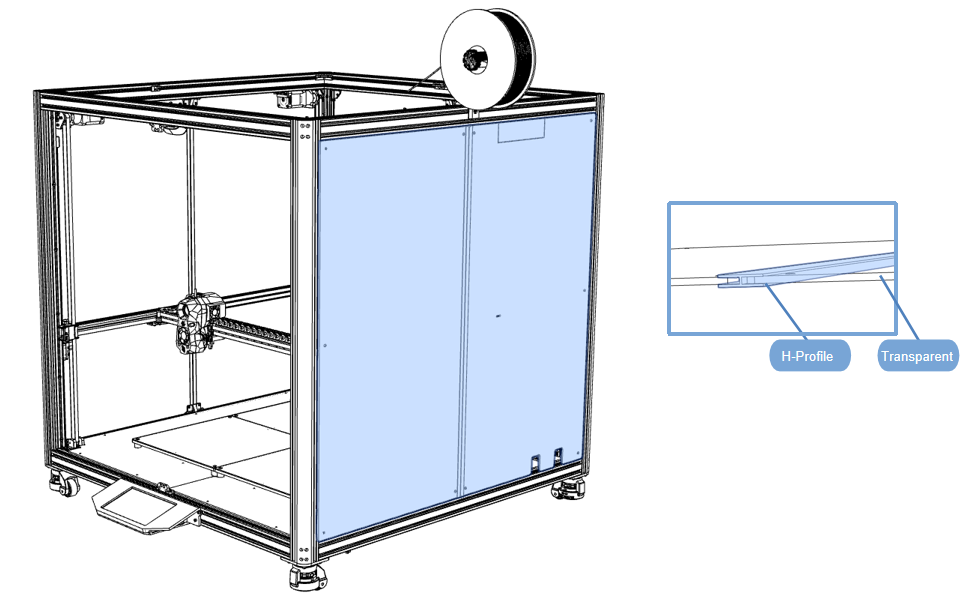
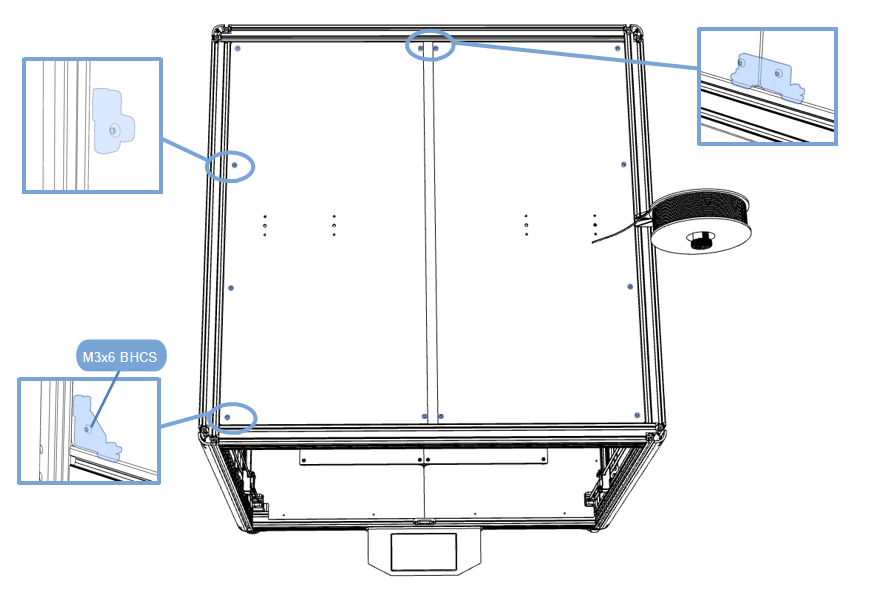
2.9.3 Sealing acrylic
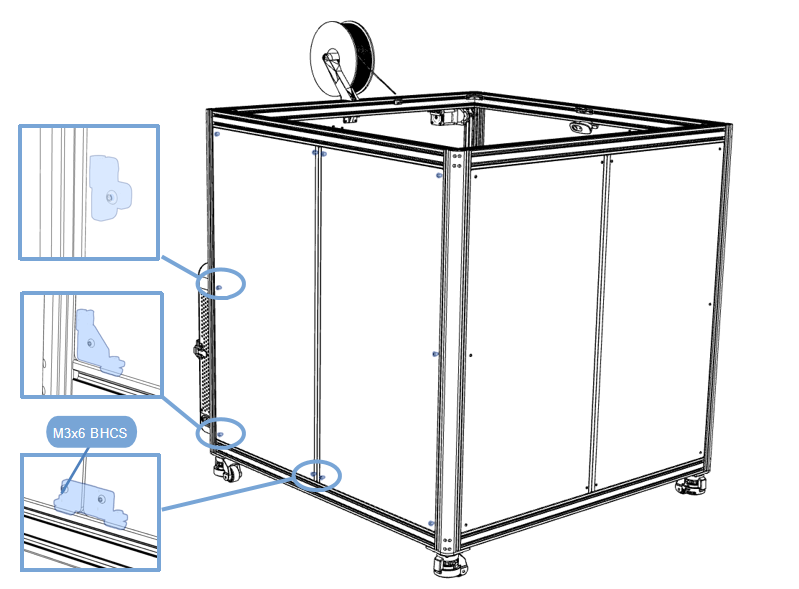
Bracket installation
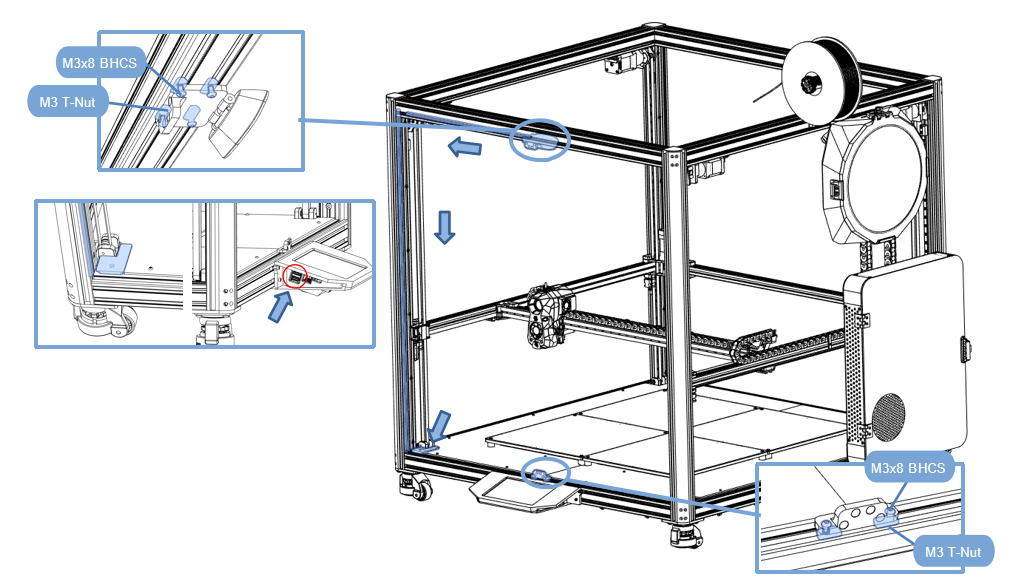
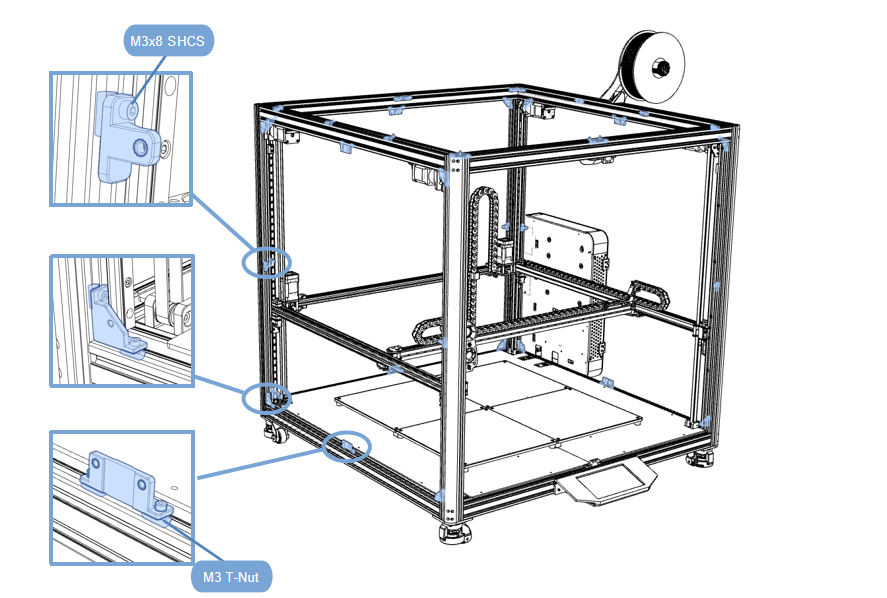
- Assemble according to the diagram;
- Install the acrylic board bracket and pay attention to the installation position;
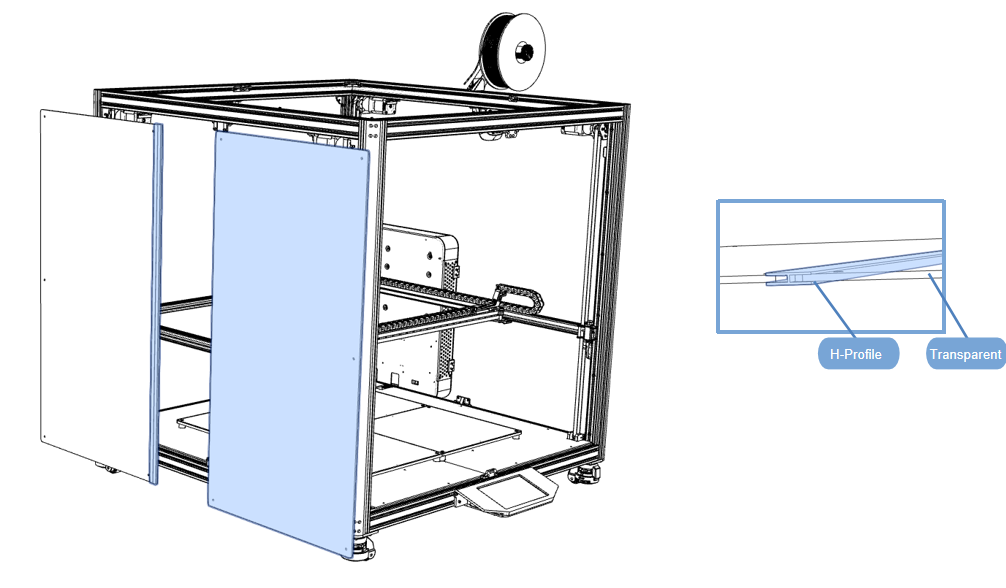
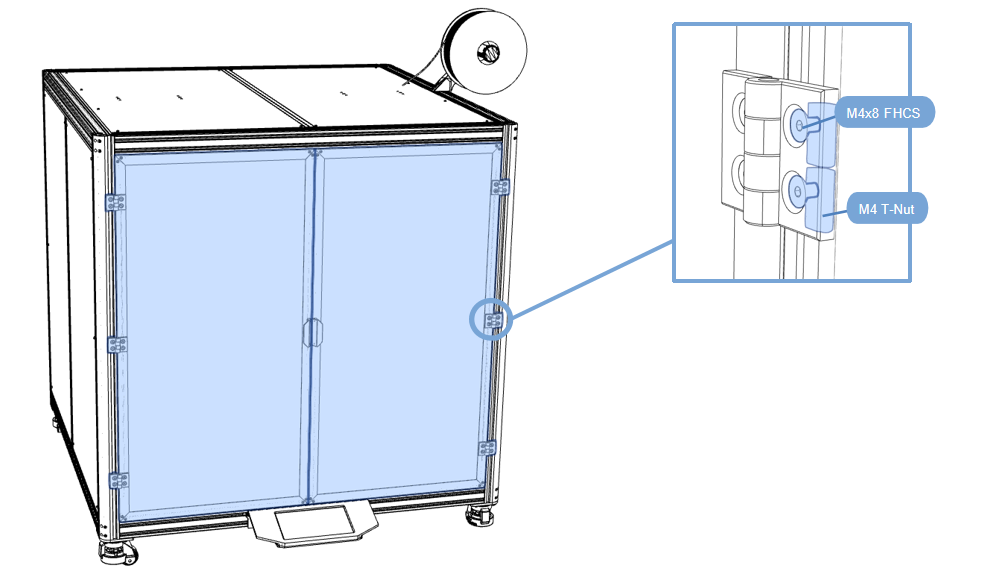
Side panel acrylic sheet installation
-
Material preparation
-
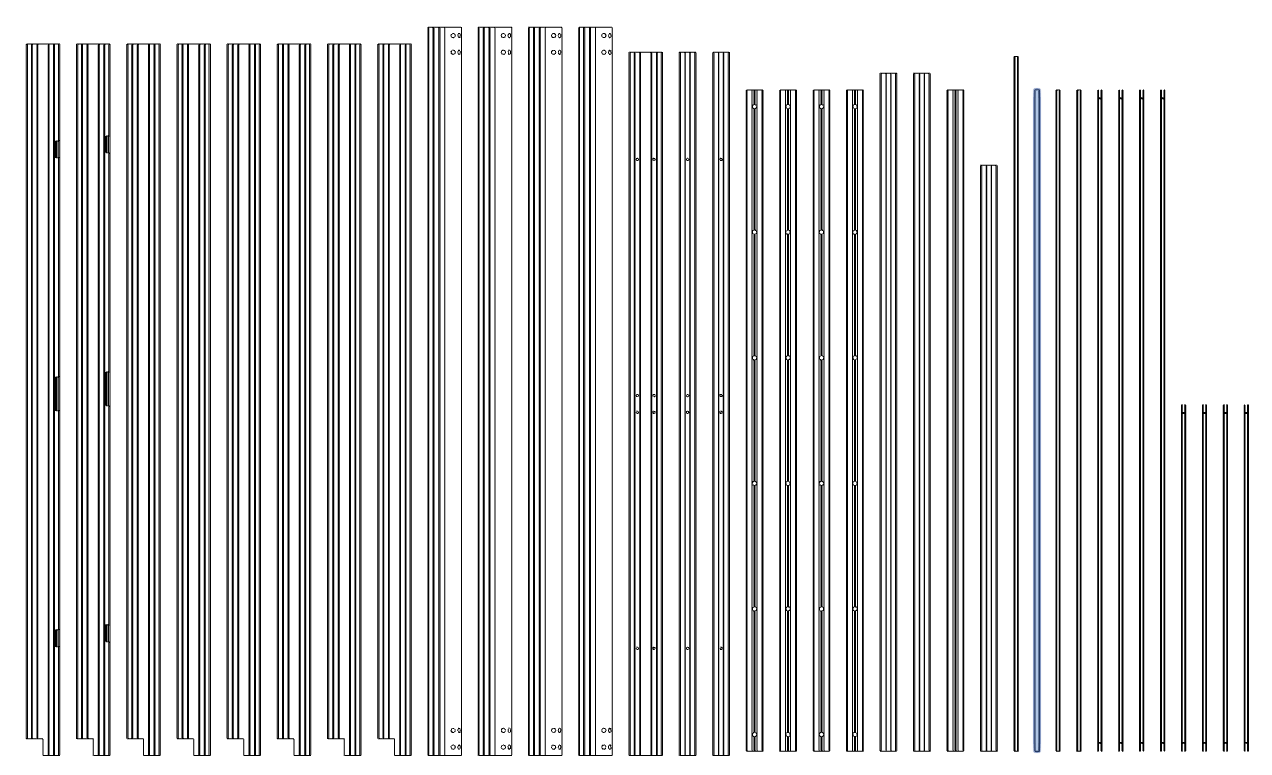
Take out the profile shown in the figure;
-
Insert the acrylic sheet into both sides of the profile as shown in the picture;
-
Mount the acrylic sheet to the frame;
-
Tighten the screws to fix the acrylic plate to the bracket;

Back panel acrylic sheet installation
-
Material preparation

-
Take out the profile shown in the figure;
-
Insert the acrylic sheet into both sides of the profile as shown in the picture;
-
Mount the acrylic sheet to the frame;
-
Tighten the screws to fix the acrylic plate to the bracket;
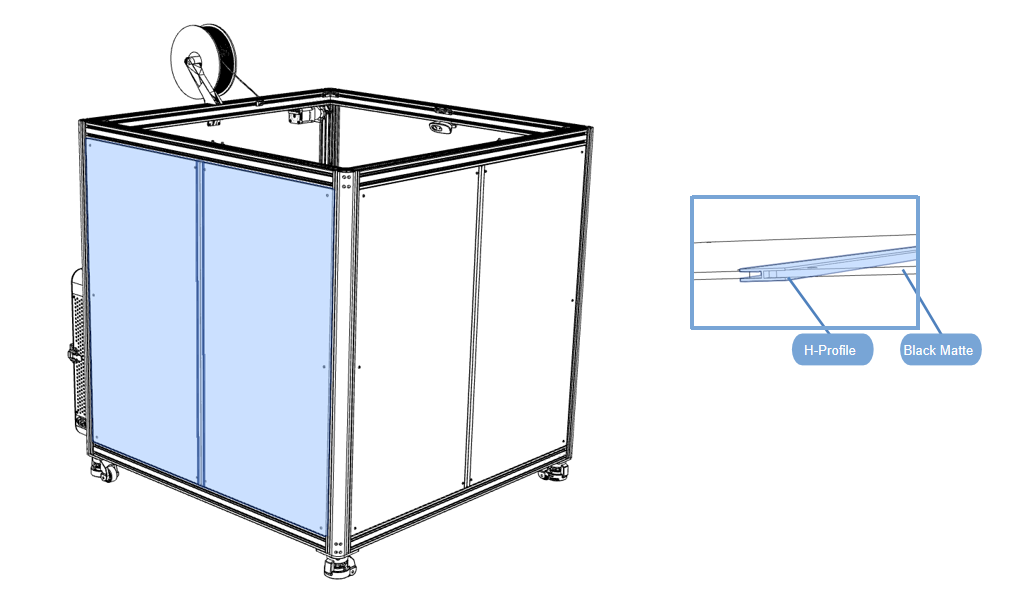
Side panel acrylic sheet installation
-
First loosen the screws of the electric box and remove the electric box;
-
Material preparation
-
Take out the profile shown in the figure;
-
Insert the acrylic sheet into both sides of the profile as shown in the picture;
-
Mount the acrylic sheet to the frame;
-
Tighten the screws to fix the acrylic plate to the bracket;
-
Install the electrical box back onto the frame;
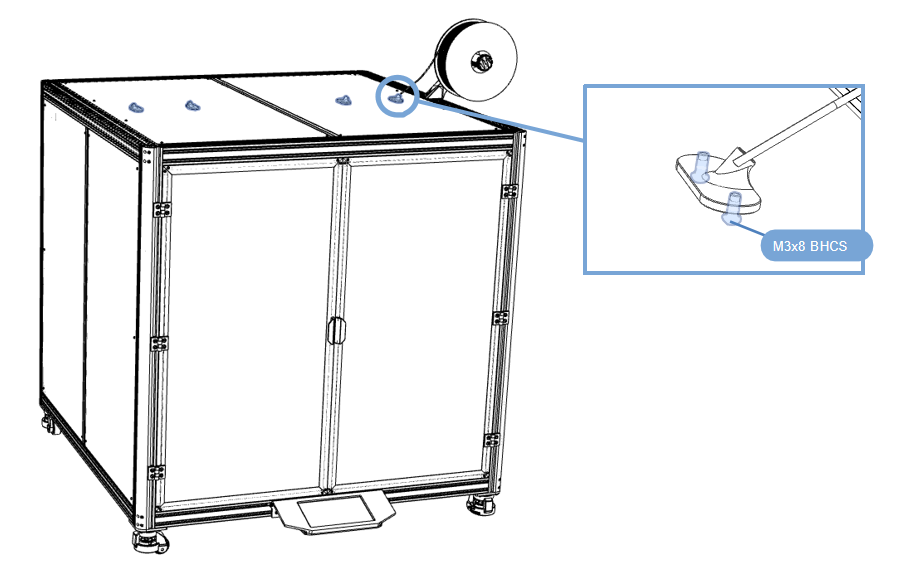
Top panel acrylic sheet installation
- Material preparation
- Take out the profile shown in the figure;
- Insert the acrylic sheet into both sides of the profile as shown in the picture;
- Mount the acrylic sheet to the frame;
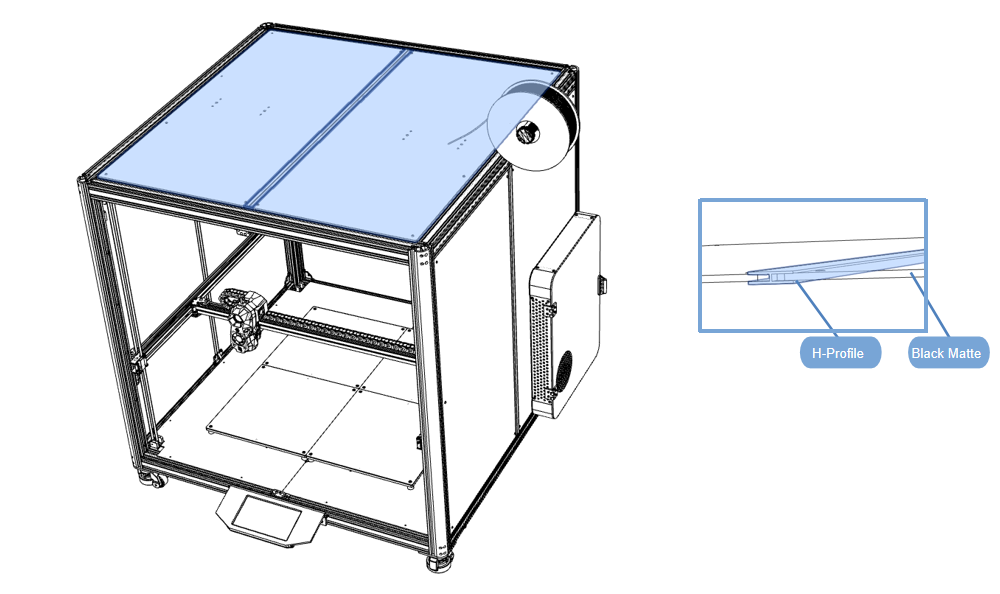
- Tighten the screws to fix the acrylic plate to the bracket;
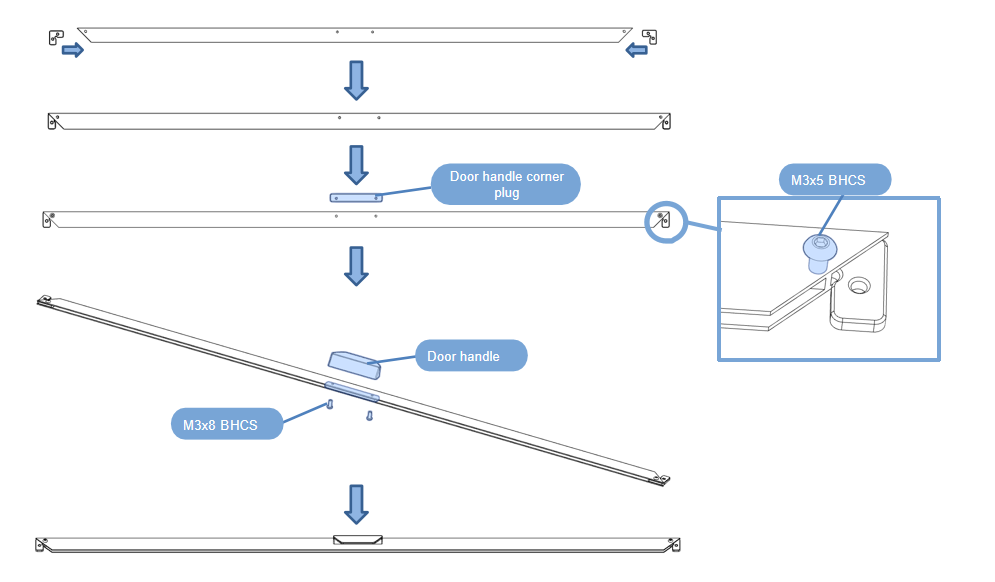
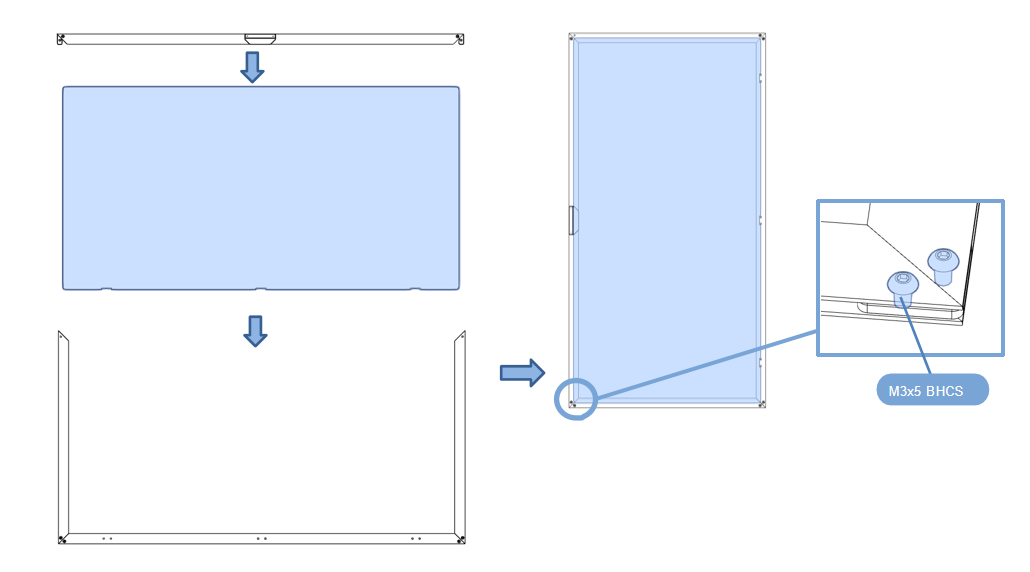
Door panel acrylic sheet installation
- Material preparation
- Insert “Door corner stopper” into the profile groove;
- Assemble according to the diagram;
- Tighten it with screws;
- Insert “Door corner stopper” into the profile groove;
- Assemble according to the diagram;
- Tighten it with screws;
- Insert the acrylic sheet into both sides of the profile as shown in the picture,close the end cover;
- Tighten it with screws;
- Take the hinges out of the accessories bag;
- Install the hinge and tighten it with the hexagonal nut;
- Repeat the previous operation to assemble the remaining door;
- Installing the door on the profile frame;
- Tighten it with screws;
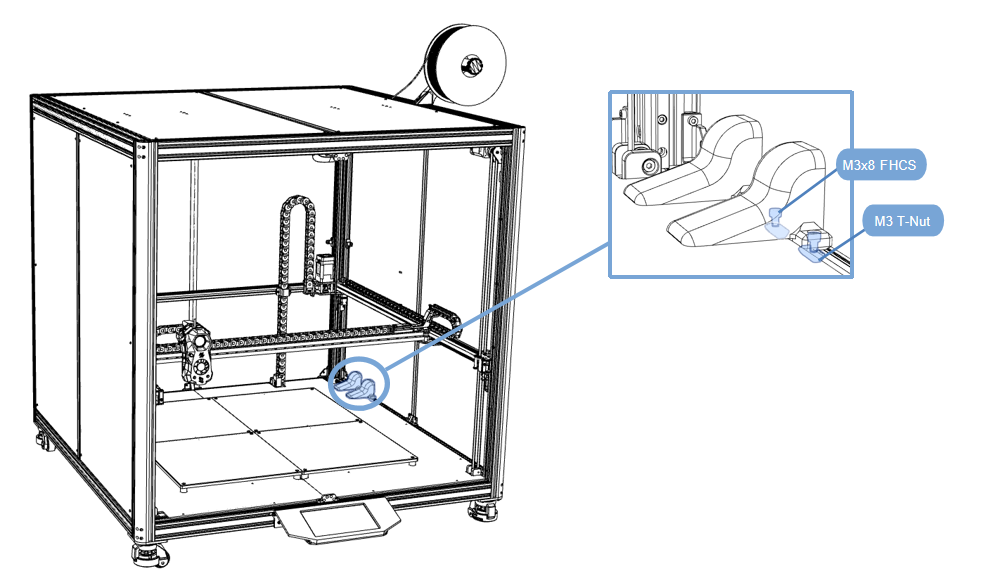
2.9.4 Other accessories
Feed Port
- Assemble according to the diagram;
- Tighten it with screws;
Wire duct cover
- Assemble according to the diagram,Covering Wires;
- Tighten it with screws;
Decorative light strips
- Take out the accessories package and there are 2 Pcs 24V LED light strips;
- The light strips need to be connected in series;
- The installation position is not fixed and can be installed at will. The picture provides 2 installation positions;
- Wiring location, refer to the wiring diagram;
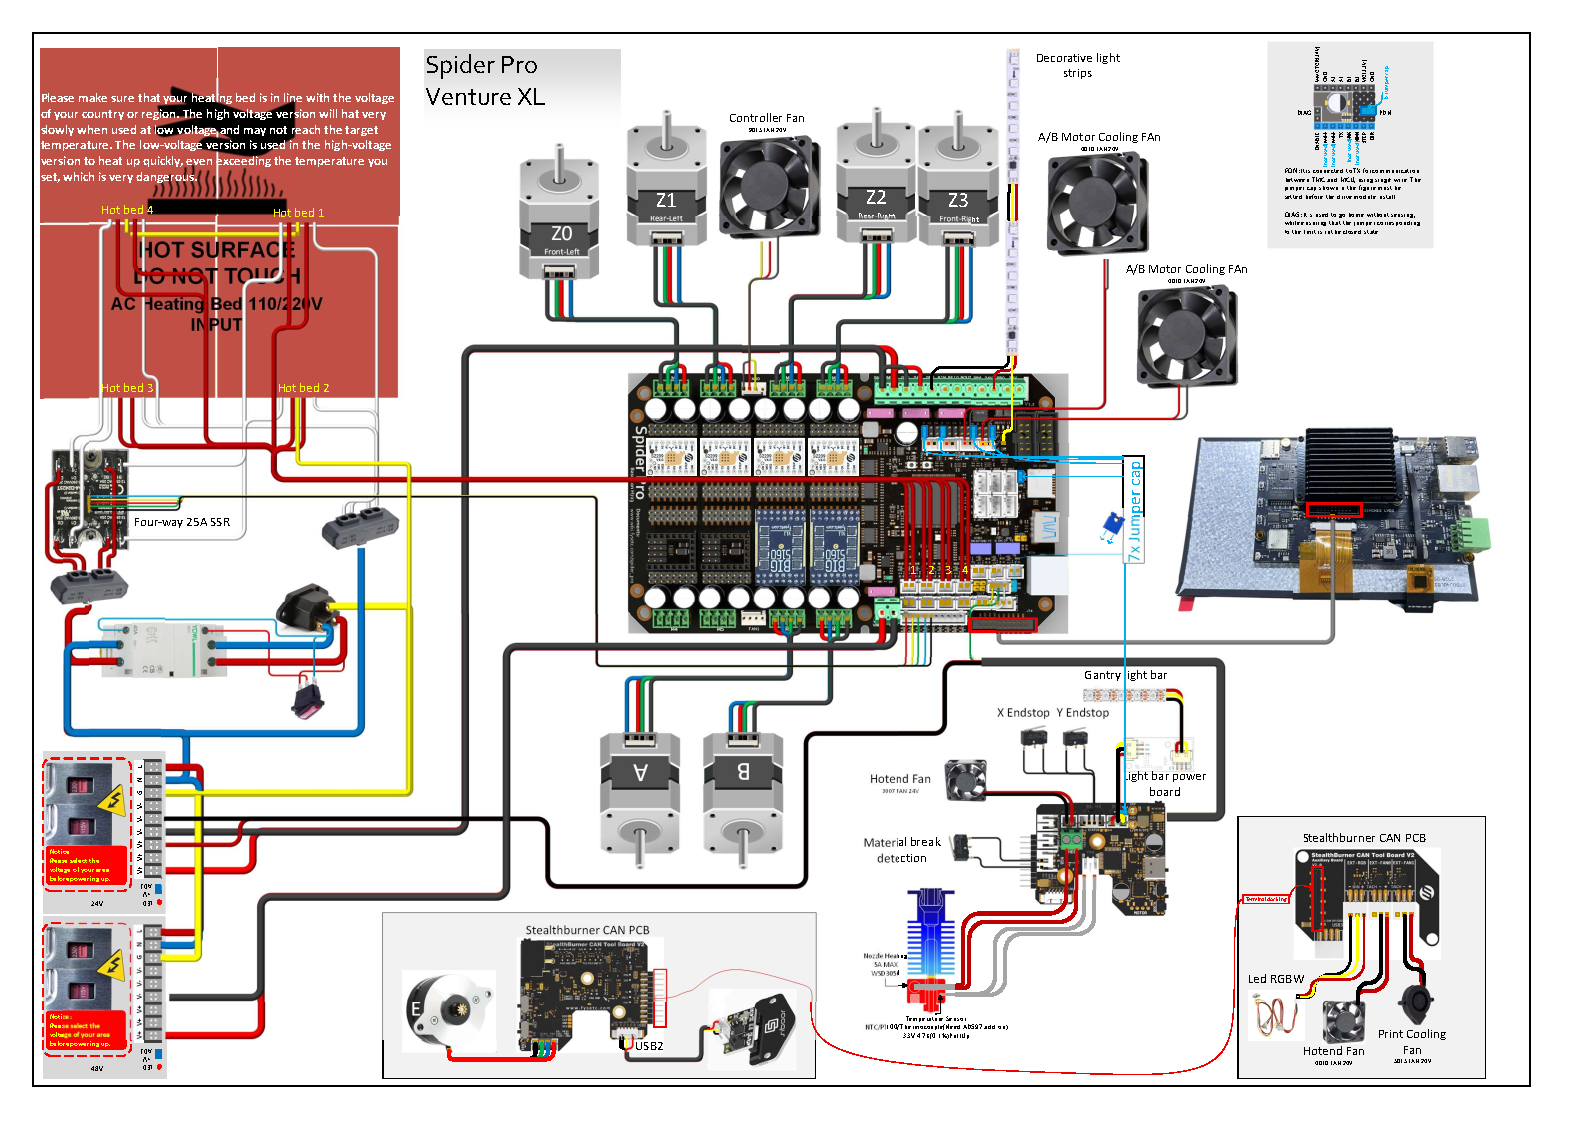
Wiring Diagram
File Links:Here
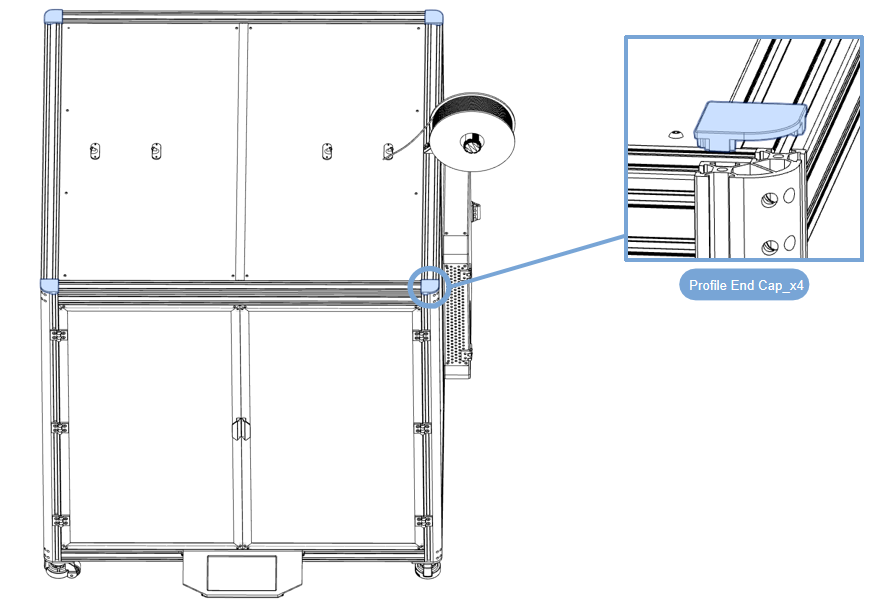
Profile decorative cover
- Press the profile end cap into the top of the frame and press it in;